Alpine Linux: Installing aarch64 on VMWare Fusion


Table of Contents
Quick Introduction
Downloading Alpine Linux
Creating a New Virtual Machine in VMware Fusion
VM Hardware Settings & Starting
Basic Configuration Steps
Setting Keymap and Hostname
Configuring Network Interface
Checking Mac's Network
Network Setup for Alpine
Network Interface Details
Domain Name and DNS Settings
Root Password and Timezone Setup
Proxy, NTP, and APK Mirror Configuration
User and SSH Setup
Creating a Non-Root User
SSH Server Installation
Disk Installation & Finalizing Installation
SSH Access from Mac
1. Quick Introduction
We all know that Alpine Linux is one of the most popular Linux distributions due to its lightweight, secure and efficient based on musl libc, and BusyBox. The first release was in 2005. (https://www.alpinelinux.org/about/)
musl libc is a C standard library intended for operating systems based on the Linux kernel, and it's designed with a focus on simplicity, efficiency, and correctness.
- One of the key advantages of
muslis its small size and reduced complexity, making it an excellent choice for embedded systems, containers, and any environment where resources are limited or where a smaller attack surface is desired for security reasons.
- One of the key advantages of
BusyBox combines tiny versions of many common UNIX utilities into a single small executable. It offers a compact environment with the essential tools to manage the system (like
cp,mv,ls,sh, and many more).
Advantages & Disadvantages compared to Ubuntu Server.
Advantages:
Lightweight:
Standard version around 130 MB - 220 MB.
Docker base image: 6 MB.
Security: with
musl libcandBusyBox, it has fewer vulnerabilities and a smaller attack surface compared to more rich distributions.Resource Efficiency.
Container friendliness: One of the most popular in the Docker community as a base image.
Disadvantages:
Software Compatibility: Some software might require additional configuration to work on Alpine due to
musl libc.Learning Curve: Ubuntu is the mainstream distribution, Alpine's users might find documentation and community support less extensive.
Fewer Features by default: It's a tradeoff.
Use Cases
Containers and Microservices: Due to its small size, and security features, Alpine Linux is an excellent choice for Docker containers and microservice architectures.
Security-Sensitive Applications: Its security features make it suitable for secured applications.
Infrastructure Servers: web servers, database servers, email servers, etc.
Embedded Systems: Its lightweight nature makes it fit for embedded systems or IoT devices where resources are limited.
Read more: Why Alpine Linux is more secure than other distributions (link to another post).
Let's get started!
Note: I'm using Mac M2 with VMWare Fusion 13.5
2. Downloading Alpine Linux
Download the right alpine linux based on your hardware, mine is aarch64 v3.19.1https://www.alpinelinux.org/downloads/
3. Creating a New Virtual Machine in VMware Fusion
From the Virtual Machine Library, we can create a new VM. I will drag the ISO named alpine-standard-3.19.1-aarch64.iso into this panel.

Continue, and we will see where to choose the OS, I will pick Other Linux 6.x kernel 64-bit Arm.

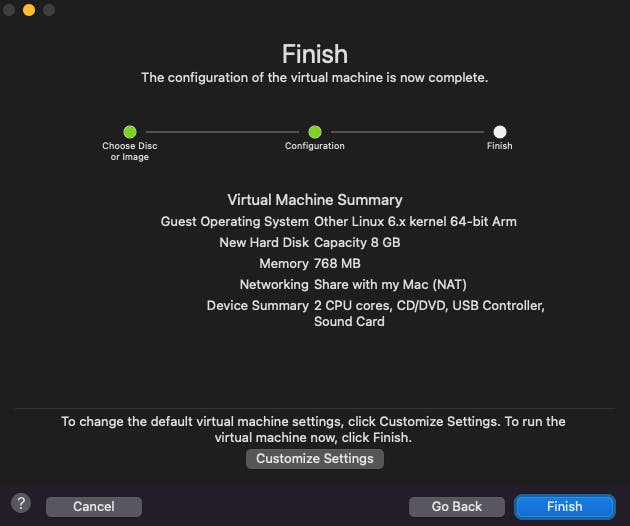
The finish screen gives you a quick summary of the VM, you can change its hardware settings by Customize Settings.
4. VM Hardware Settings & Starting
The Start screen is here, but I will take a look at the Hardware Settings by clicking on the tool 🔧 icon.
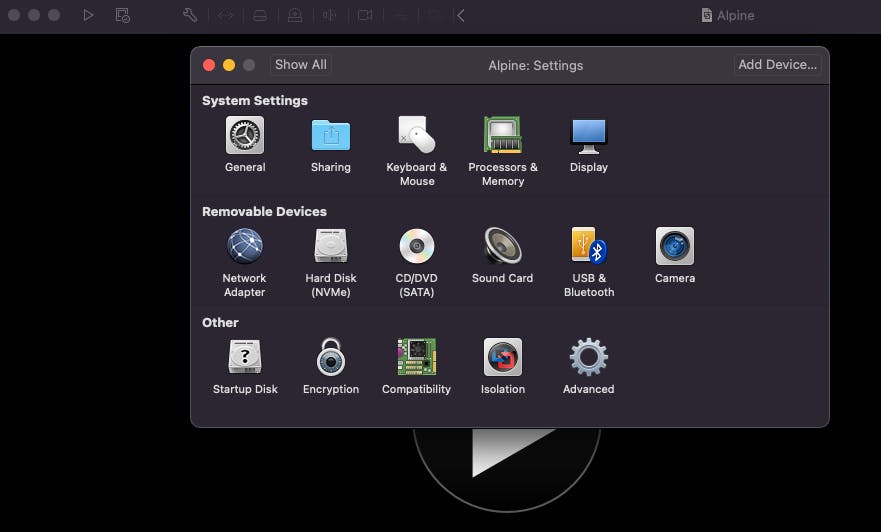
Then go to Hard Disk (NVMe) to adjust the disk size to whatever you want.
That's it. Let's click on the big start button in the middle to start the VM.
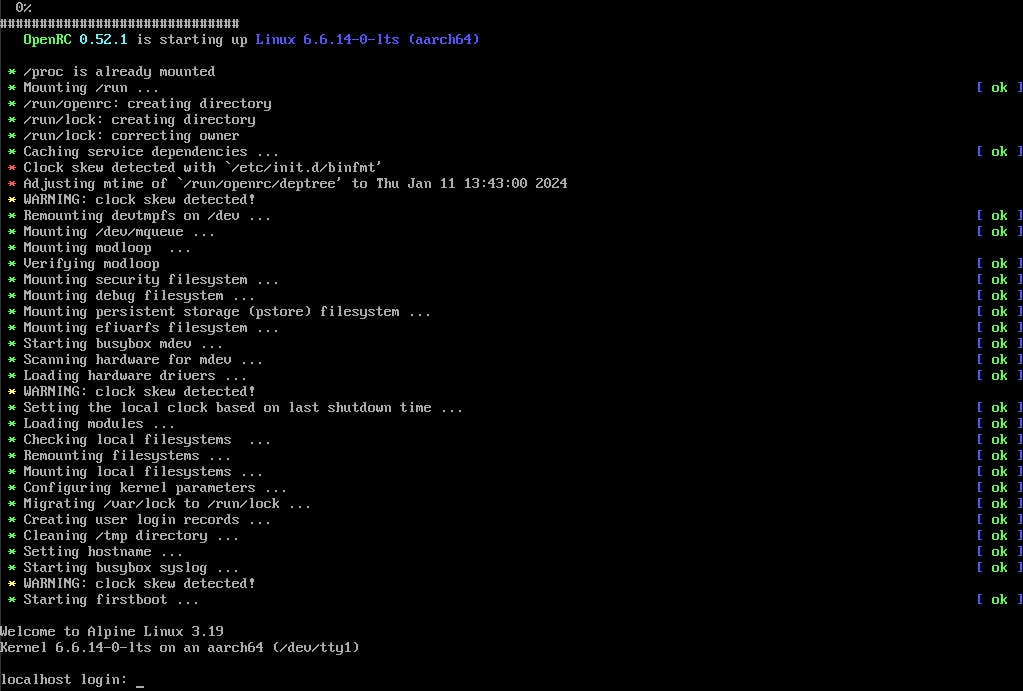
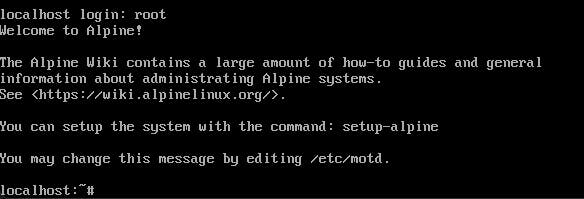
It says localhost login:. The default account of the first installation is root without any passwords.
5. Basic Configuration Steps
From this point, type setup-alpine to start the setup process.
First, we will set up the Keymap, and the Hostname.
Keymap: us
Hostname: alpine (for example)
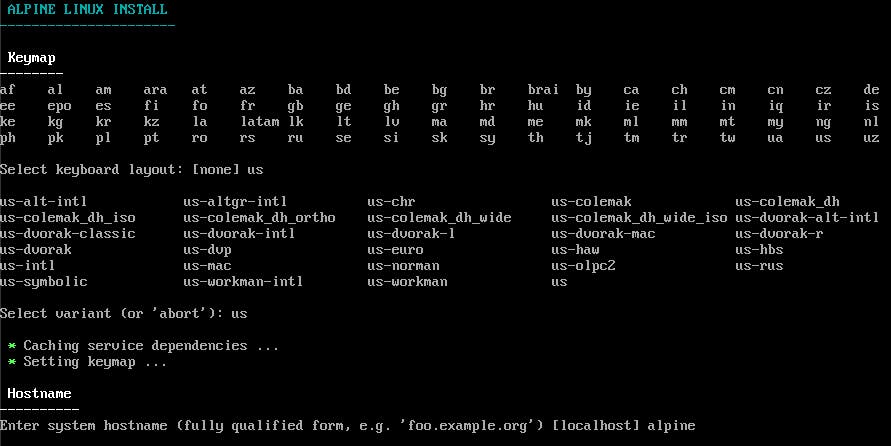
The next thing is important because we're going to set Network Interface.

Type ? to get help.
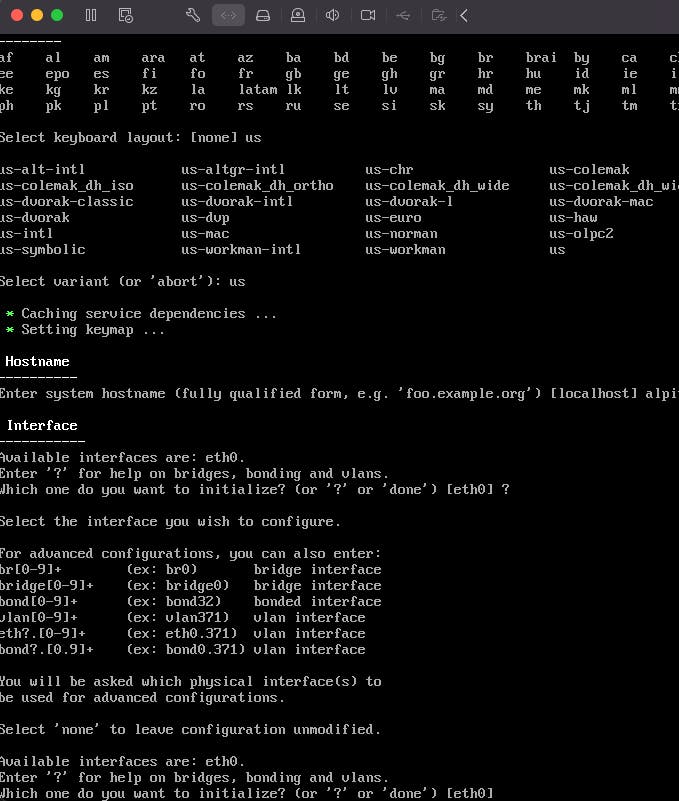
I'm opting for bridge0 because this VM is running on VMware on a Mac, and I want it to directly use the network through my Mac. However, it's important to ensure that the Network Adapter is set to 'Bridged Networking' in the configuration.

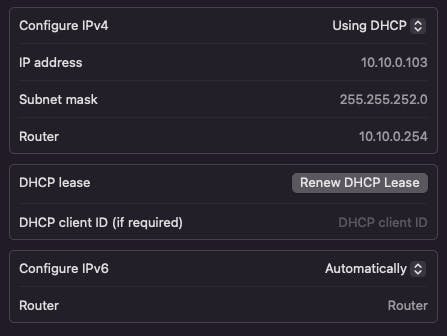
Back to setup-alpine, I will set up a network interface for Alpine, but before doing that, I need to check my Mac's network.
...and setup for Alpine Network:
Available interfaces are: eth0.
Enter '?' for help on bridges, bonding and vlans.
Which on do you want to initialize?...[eth0] bridge0
Available bridge ports are: eth0
Which port(s) do you want add to bridge bridge0? [eth0] eth0
Ip address for bridge0?...[dhcp] 10.10.0.111
Netmask? 255.255.252.0
Gateway? 10.10.0.254
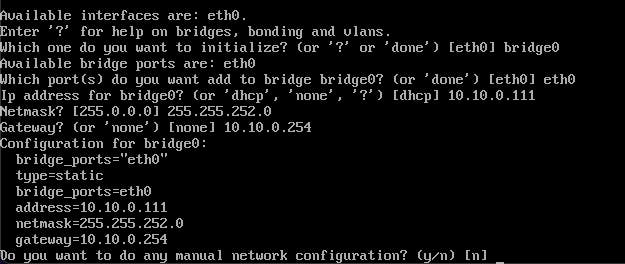
Type n to say NO to add more network configuration, then I will ignore the domain name, and set nameservers with 8.8.8.8 8.8.4.4 of Google DNS.

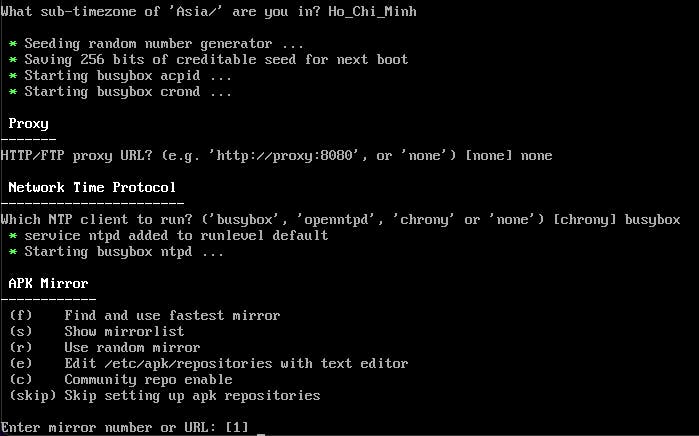
Now, set up the Root Password, and Timezone.

Set up Proxy, Network Time Protocol, and APK Mirror.
APK (Alpine Package Keeper) is the package manager used to install, update, and manage software packages. It is similar in function to package managers like
aptin Debian-based systems oryumin Red Hat-based systems."APK mirror" refers to a server or repository that hosts copies of Alpine Linux packages (APKs).
The next section is for creating a user and SSH server.
6. User and SSH Setup
This step quickly creates a non-root user and openssh service.

Next, we will move on to the Disk & Install section.
7. Disk Installation & Finalizing Installation
Type nvme0n1 to select the available disks, and use it as sys.
The 'sys' mode installation refers to a system installation mode in Alpine Linux. When you choose 'sys' mode for the disk setup, it means you are installing Alpine Linux to your hard drive in a way that it operates directly from the disk.
'Sys' mode is suitable for a more traditional, persistent installation where changes are saved across reboots.

Please patient. It's not done! We have to shutdown the machine with the halt command.
Disconnect the CD/DVD (let the VM boot from the hard drive instead of the iso).
Restart the VM from the Virtual Machine Library.

Give it a try to log in with the created user.

So far so good, next we will try to ssh to the created VM.
8. SSH from Mac
How about ssh from Mac?
ssh <user>@<server ip address>
❯ ssh alp-user1@10.10.0.111                                                                               ─╯
The authenticity of host '10.10.0.111 (10.10.0.111)' can't be established.
ED25519 key fingerprint is SHA256:Qyh05Excglz8FJP0ouqopOaWu779IF84b5M1aYKlJFo.
This key is not known by any other names
Are you sure you want to continue connecting (yes/no/[fingerprint])? yes
Warning: Permanently added '10.10.0.111' (ED25519) to the list of known hosts.
alp-user1@10.10.0.111's password:
Welcome to Alpine!

The Alpine Wiki contains a large amount of how-to guides and general
information about administrating Alpine systems.
See <https://wiki.alpinelinux.org/>.

You can setup the system with the command: setup-alpine

You may change this message by editing /etc/motd.

alpine:~$
All Done, and hope this helps!